How to Paint and Finish a Paper Mask Kit
A papercraft mask kit is designed to be painted after assembly, and the best results come from working in thin layers: a base coat to unify the surface, shading to bring out the folded facets, and a light sealant coat to protect the finished piece. There is no single correct color scheme, since these kits are meant to be interpreted by the person assembling them, but the sequence of priming, painting, and sealing stays the same regardless of the design you choose.

What kind of paint should you use on a papercraft mask?
Paper craft masks are built from folded and glued paper panels, so the paint needs to bond to a porous surface without warping it. Acrylic paint is the most practical choice for most builders: it is water-based, dries quickly, and can be thinned with water for lighter coats without soaking through the paper. Avoid paints with a heavy solvent base, since these can soften glued seams and cause panels to separate. Watercolor and gouache can also be used for lighter, more translucent effects, but they are more easily disturbed by handling later, so they generally need a stronger sealant afterward.
Whatever paint you choose, apply it in thin coats rather than one heavy layer. Paper absorbs liquid unevenly, and a single thick coat is more likely to cause warping along the folds than two or three light ones.
How do you prepare the surface before painting?
Before any color goes on, check that all glued joints have fully dried and that the folded panels are holding their shape. Lightly dust the surface to remove any handling residue. Some builders apply a very thin coat of diluted white glue or a paper primer first; this seals the surface slightly and helps the paint sit more evenly rather than being absorbed unevenly by the raw paper. If you use a primer, let it dry completely before moving on, since painting over a damp surface is the most common cause of visible streaking.
It also helps to plan your color layout before you start. Because the mask is made of angled facets rather than a smooth curved surface, color decisions made on paper (literally) beforehand will save you from repainting sections once you see how the light falls across each panel.
How do you paint the mask itself?
Work in this general order:
- Base coat: apply a thin, even layer of your main color across the whole mask. Let it dry fully between coats, and use two light coats rather than one heavy one if the color needs to be more solid.
- Shading and detail: the folded panel structure of a paper mask naturally creates ridges and shadows. Many builders use a slightly darker tone in the recessed areas and a lighter tone on the raised edges to emphasize this geometry, rather than fighting against it with a flat single color.
- Fine details: features such as eye outlines, linework, or small accents are best done last, once the base and shading have fully dried, using a fine brush.
Because the surface is faceted rather than smooth, small imperfections in brushwork are usually less noticeable than they would be on a flat canvas — the folds themselves break up the visual field. That said, working slowly near the edges and eye openings will keep those areas looking clean, since they are the first places a viewer's eye goes.

How do you seal a papercraft mask once it's painted?
A clear sealant protects the paint from scuffing, moisture, and fingerprints during handling or wear, and it is the step most often skipped by first-time builders. A matte or satin acrylic spray sealant is generally a safer choice than a high-gloss one, since gloss can make the folded facets look uneven under light, while matte finishes preserve the flat, sculptural quality of the paper surface. Apply the sealant in light, even passes from a distance rather than one heavy spray, and let each layer dry before adding another. Two thin coats usually protect the surface better than a single thick one, which can pool in the recessed folds and dry unevenly.
If you plan to wear the mask outdoors or handle it frequently, a slightly heavier sealant coat around the edges and eye openings — the areas that see the most contact — is worth the extra step.
Do you need special tools to get a clean result?
Most of what you need is standard for small-scale acrylic work: a couple of soft round brushes in different sizes, a flat brush for base coats, a water container, and a palette or scrap surface for mixing. A fine-tipped brush is useful for any linework around the eyes or facial features. None of this requires specialized equipment, which is part of why papercraft masks are approachable as a first project even for people without a painting background.
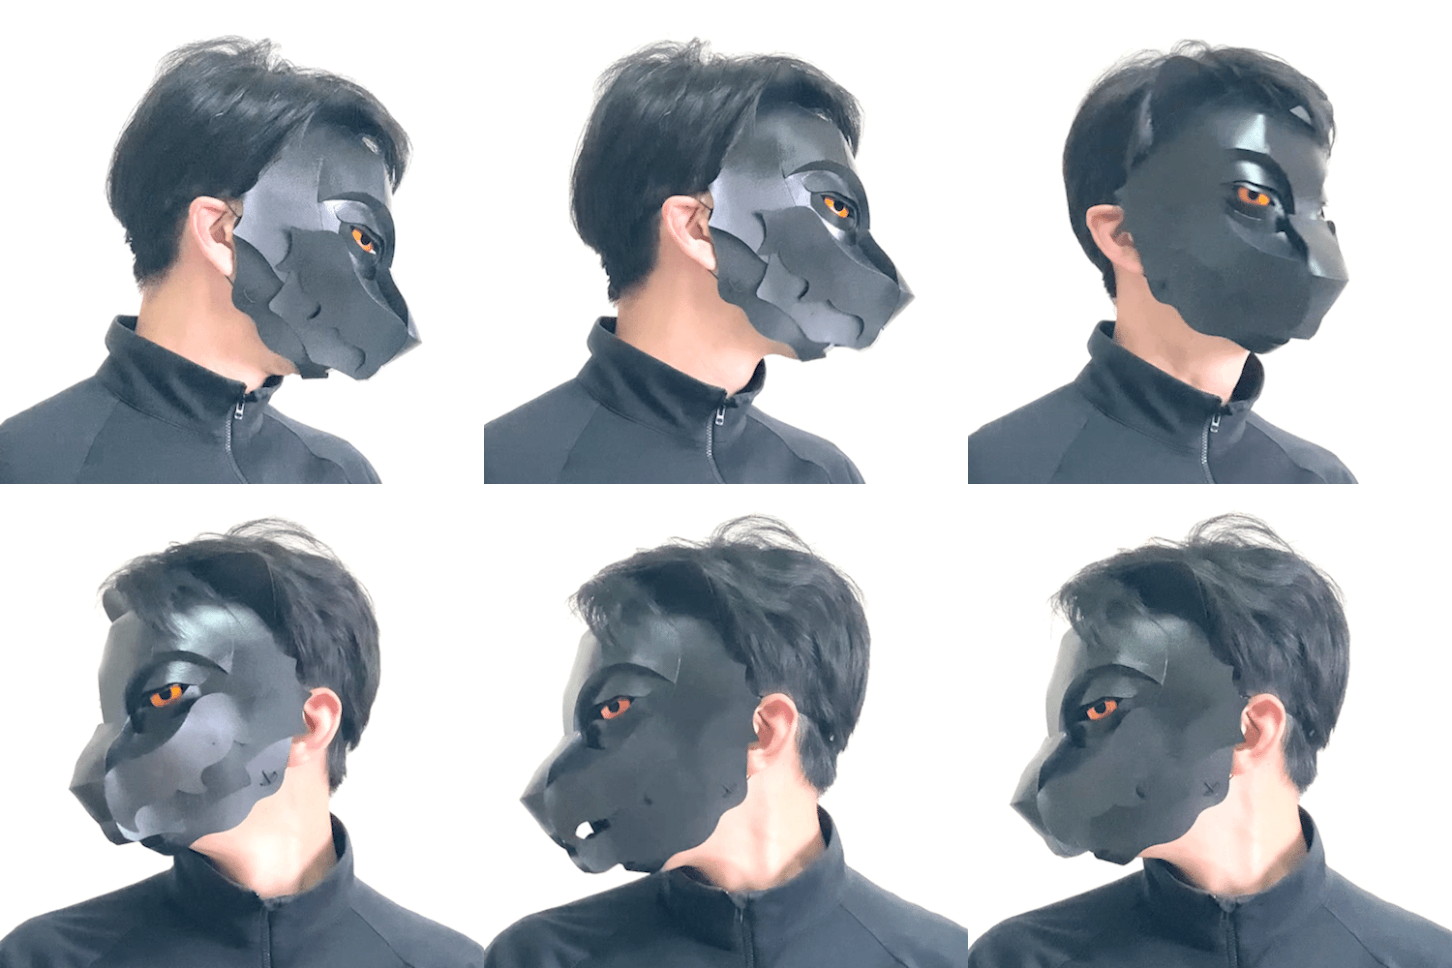
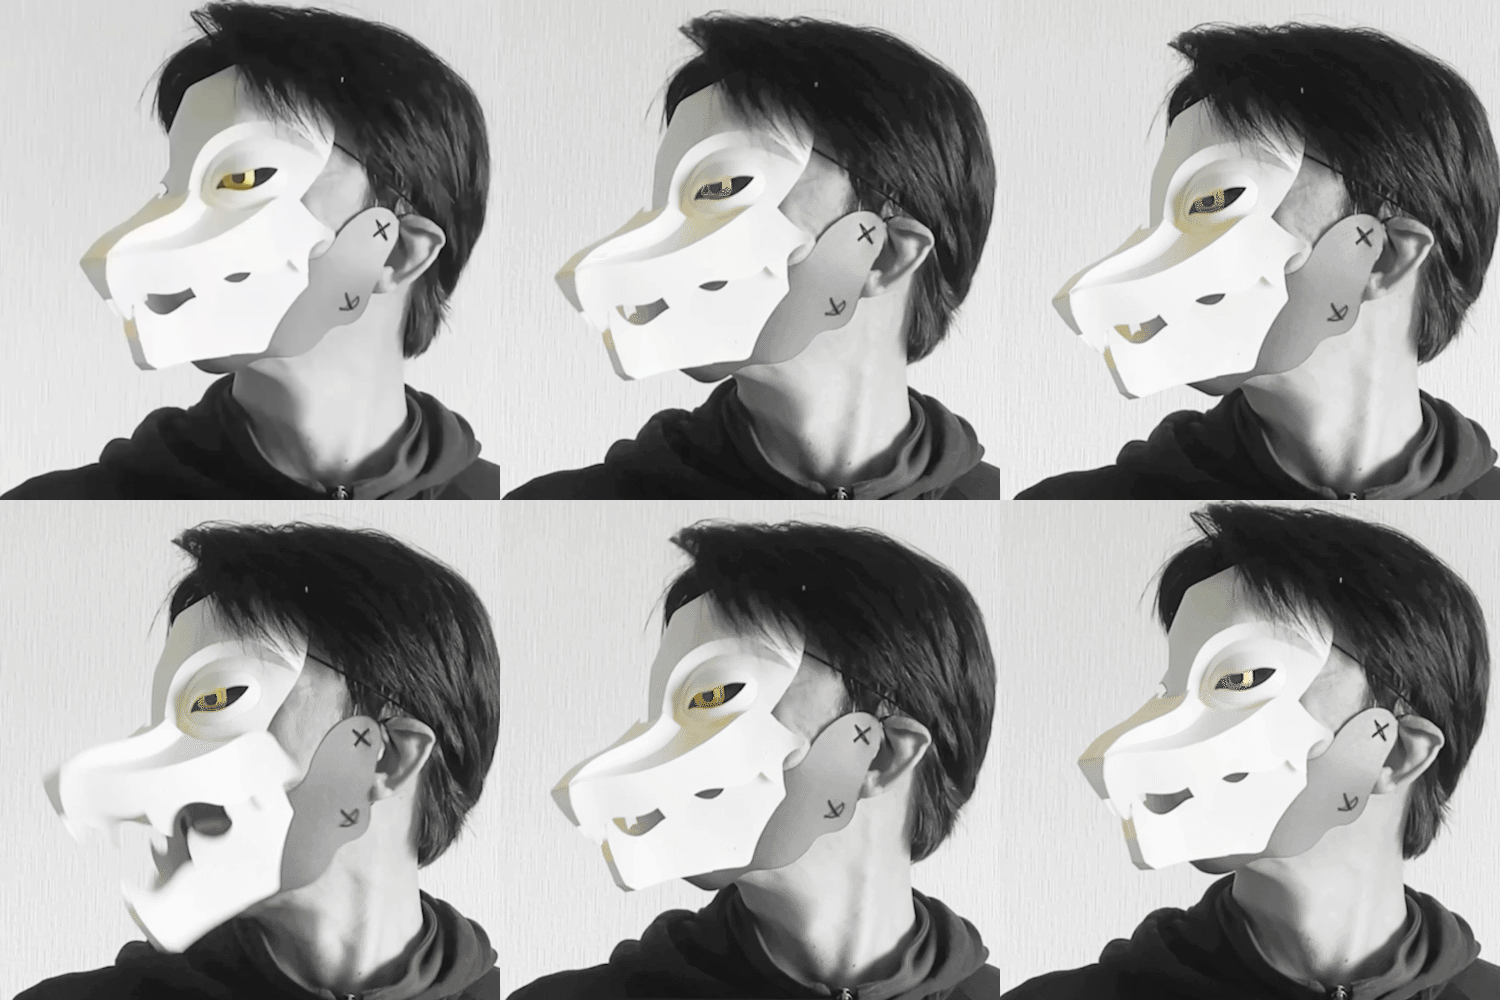
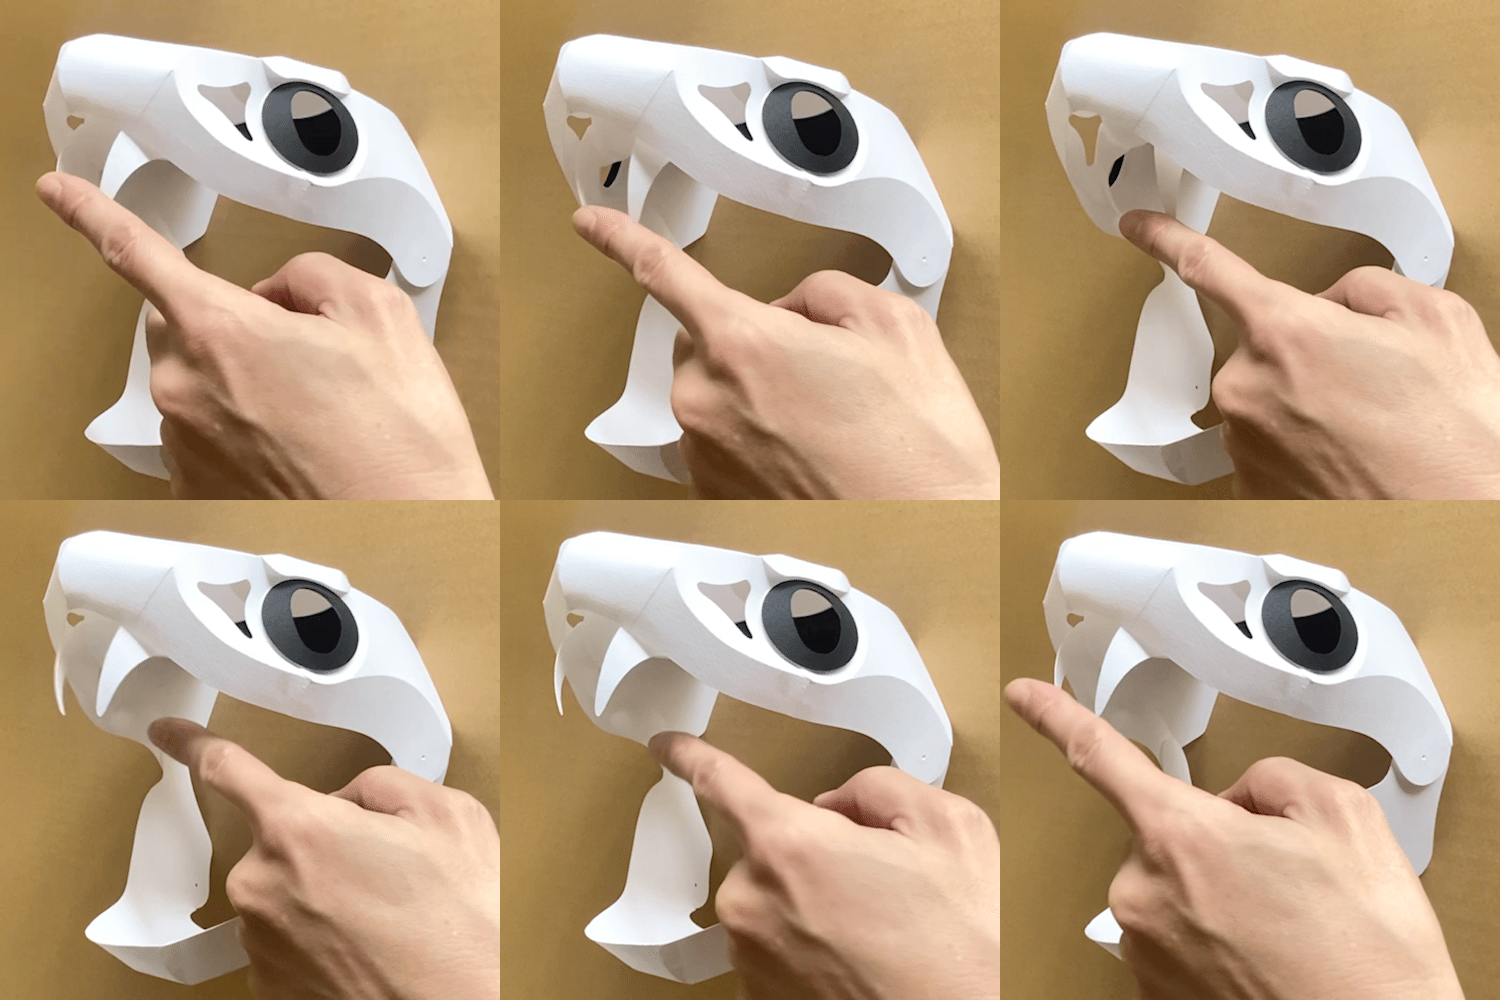
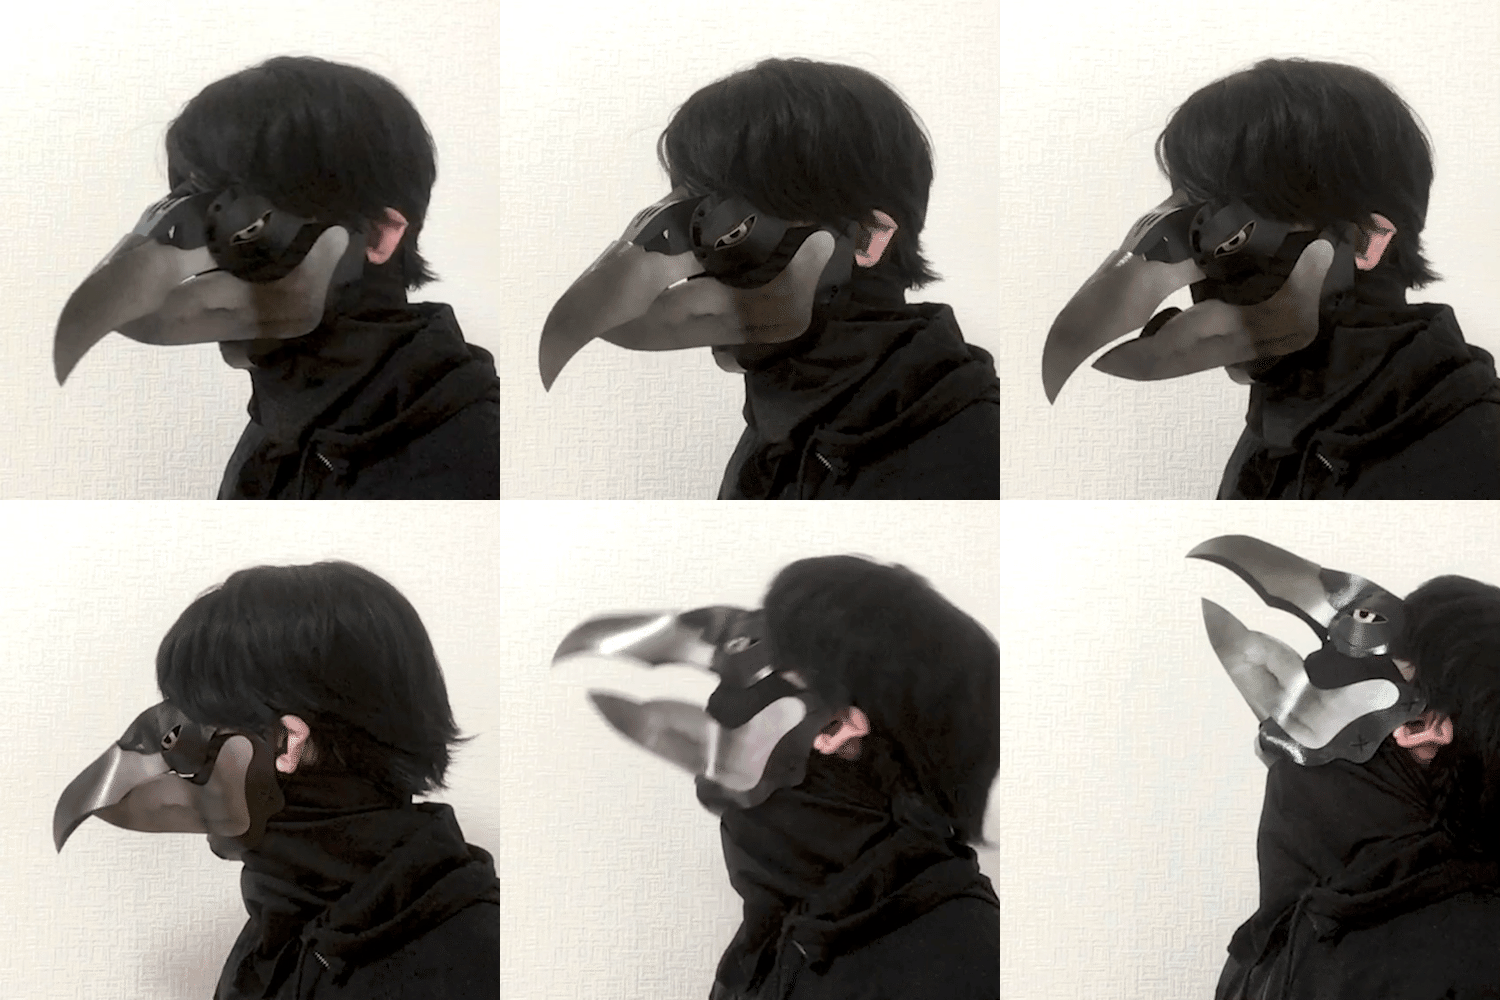
For anyone who wants to see the technique behind this style of mask before starting, the paper craft masks carried by KAMENYA OMOTE are the work of paper-craft artist Hayashi Takeo, and browsing the paper craft kit collection is a useful way to study how color and shading are used across a finished piece before planning your own.

FAQ
Can I repaint a section if I make a mistake?
Yes, as long as the paint is fully dry. Acrylic paint can be layered over itself once dry, so a small error can usually be corrected by painting over it with the base color and reapplying the detail once that layer has dried.
Should I paint before or after final assembly?
This depends on the specific kit design, but in general it is easier to paint individual panels or sections before the final folds are glued into place, since flat or partially assembled pieces are easier to reach with a brush. Fine details and touch-ups are usually best saved for after assembly, once the mask holds its full shape.
What if I want a design closer to a traditional Japanese mask rather than my own color scheme?
Looking at reference images of traditional forms can help guide color and shading choices. Our guide to Japanese mask types, history, and meaning is a useful starting point for understanding the visual conventions behind different mask styles before you begin painting.